Video transcript for deaf or hard of hearing:
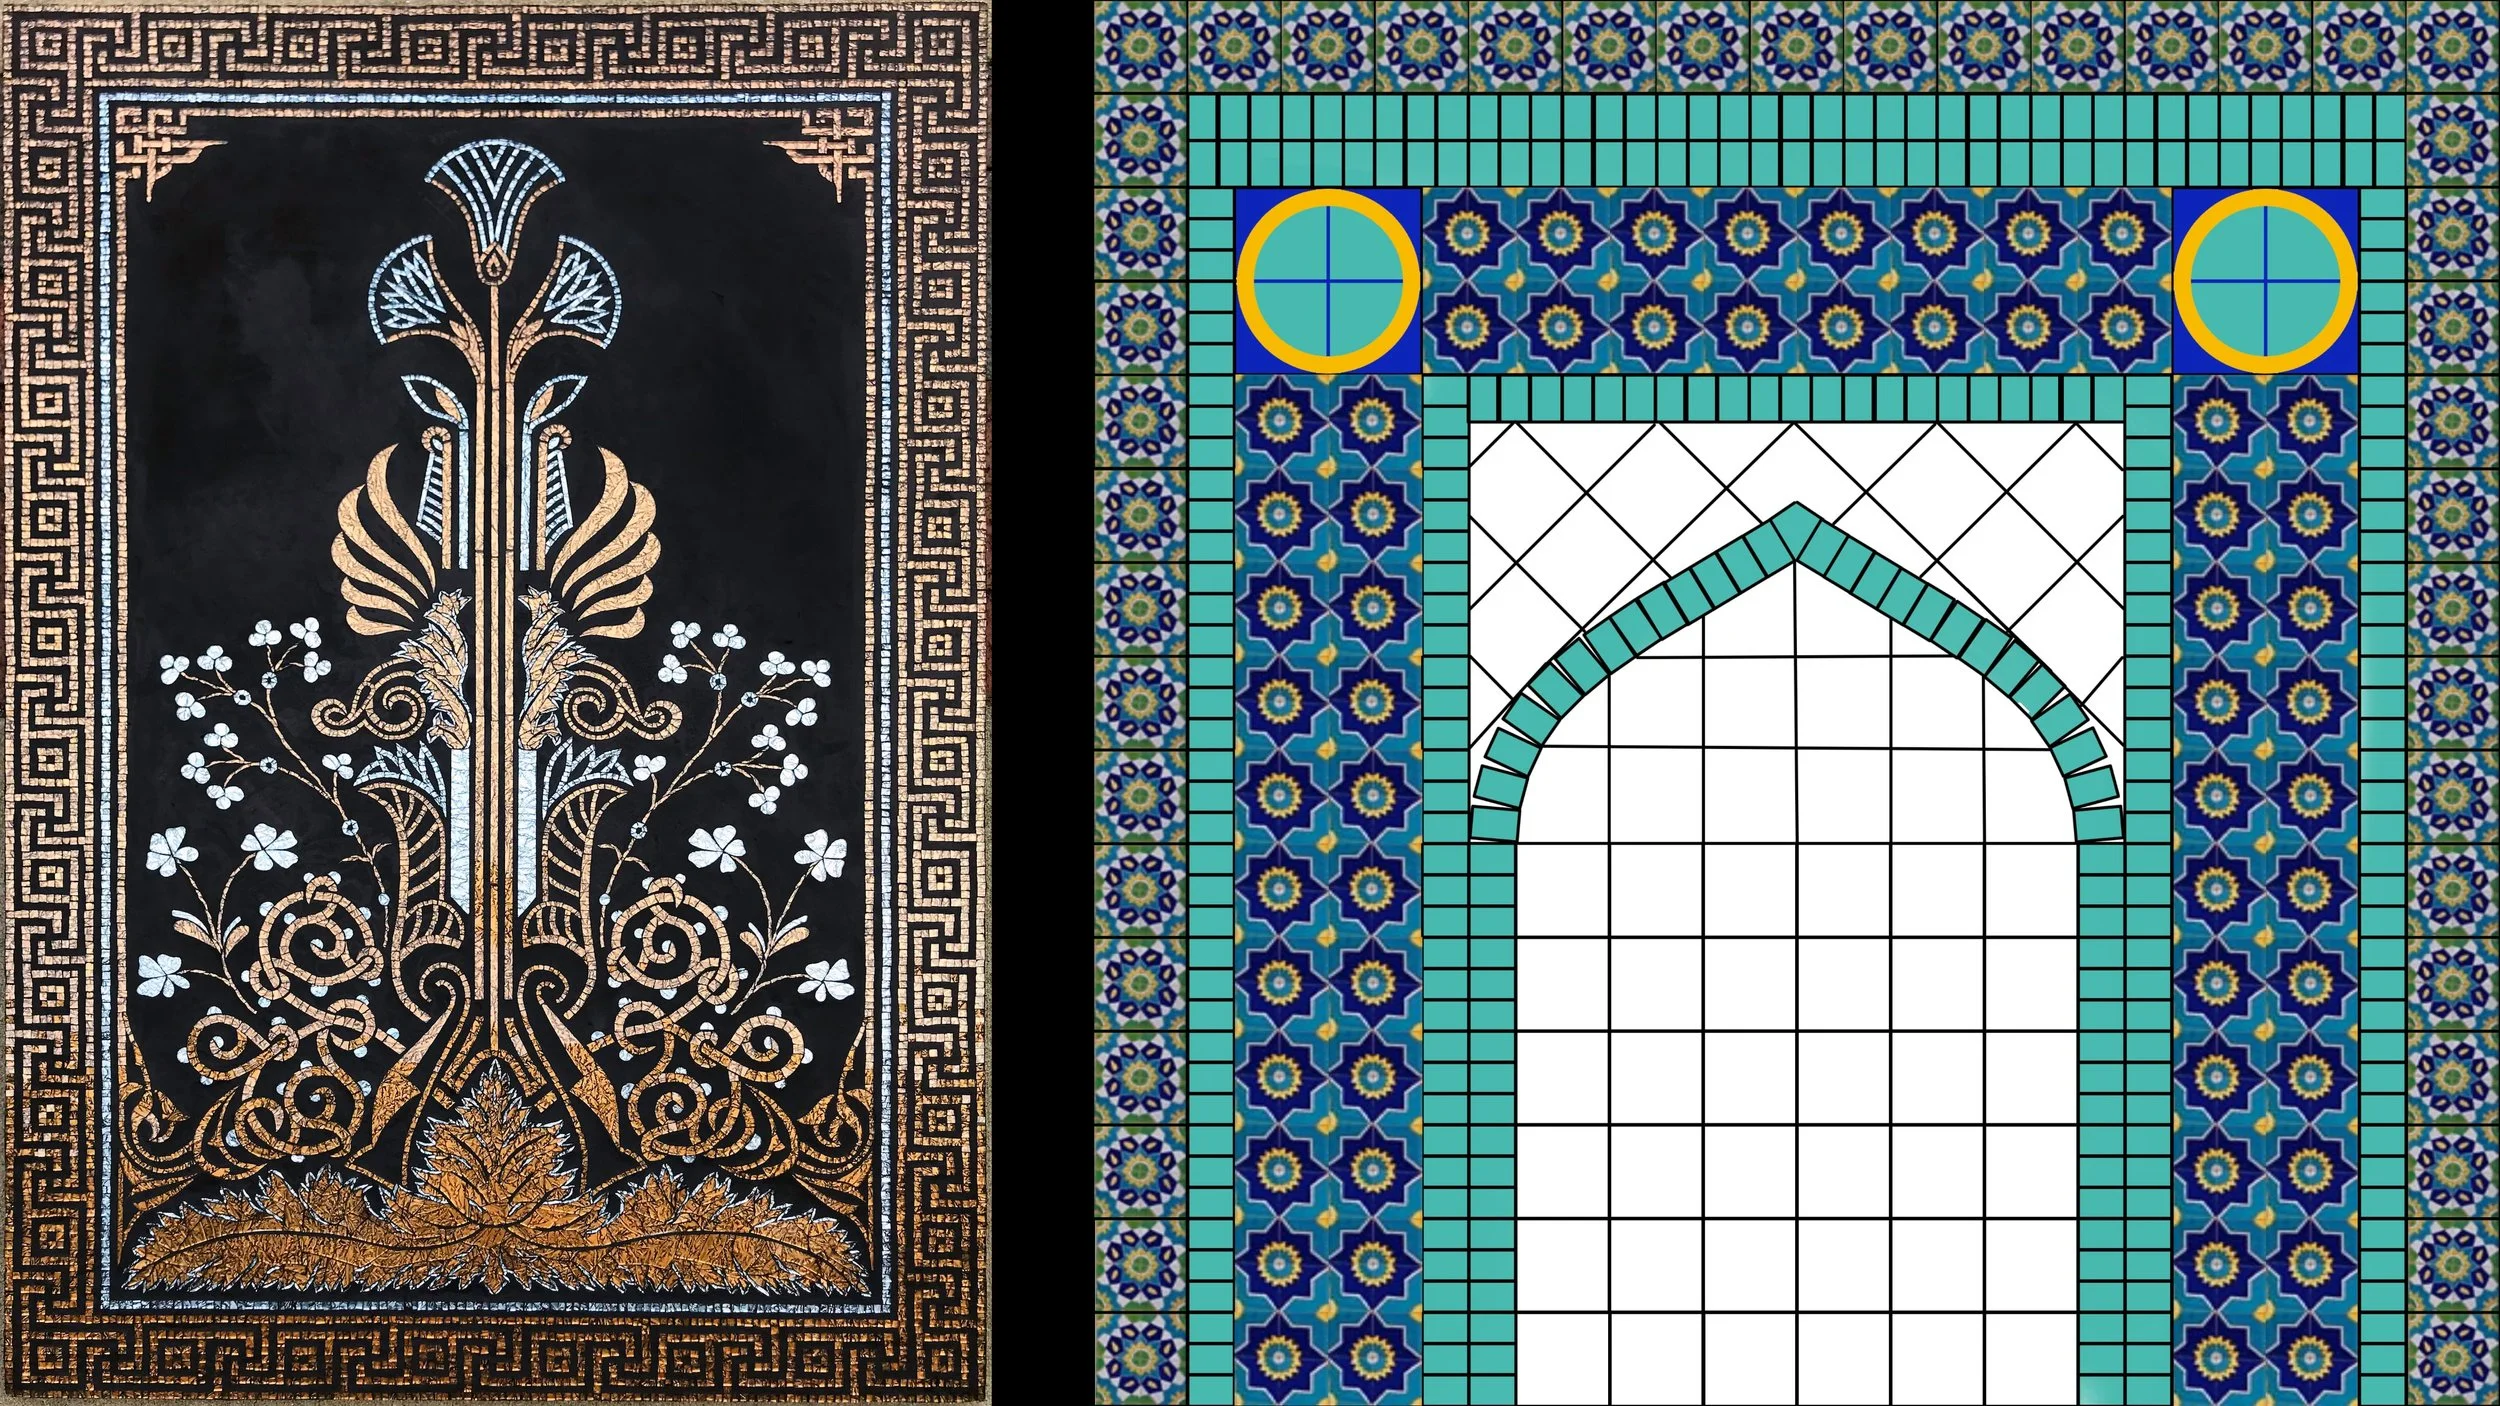
Hi Mosaic Fans! This is where we left off last time with the Afghan blue mosque mosaic
I’m starting the next step by pre-cutting stained glass into rhomboids for one of the border sections. Each piece will need to be cut and fitted into its space, but it’s easiest to prep about 500 pieces first and tailor them to fit rather than cut each piece from scratch as it’s needed.
Next I’m going to take a little break from those blue pieces because it’s getting a bit tedious. I’m placing some little Kismet round tiles in the upper portion of the archway. I’m really loving the way these are looking. This section should turn out a little more delicate than the rest because of the curvy design.
I’m all over the place now. I want to lock down the designs and patterning for each section, so I’m going to place whatever I can that is quick that allows me to then make decisions about the rest. Here I’m doing some of the beading work and placing the little yellow and red circles around the whole mosaic.
Next I’ll do a little cleanup and place the red squares and yellow circles in the center.
I know I need to get a little green in this mosaic, so I’m going to place the teardrop details around the two corner pieces. These are just green stained glass that I’ve cut into teardrops and surrounded by white beads.
Now it’s time to set the pattern for the center. I know I want to outline the sections in white beads, and the center tiles of the pattern in cobalt blue.
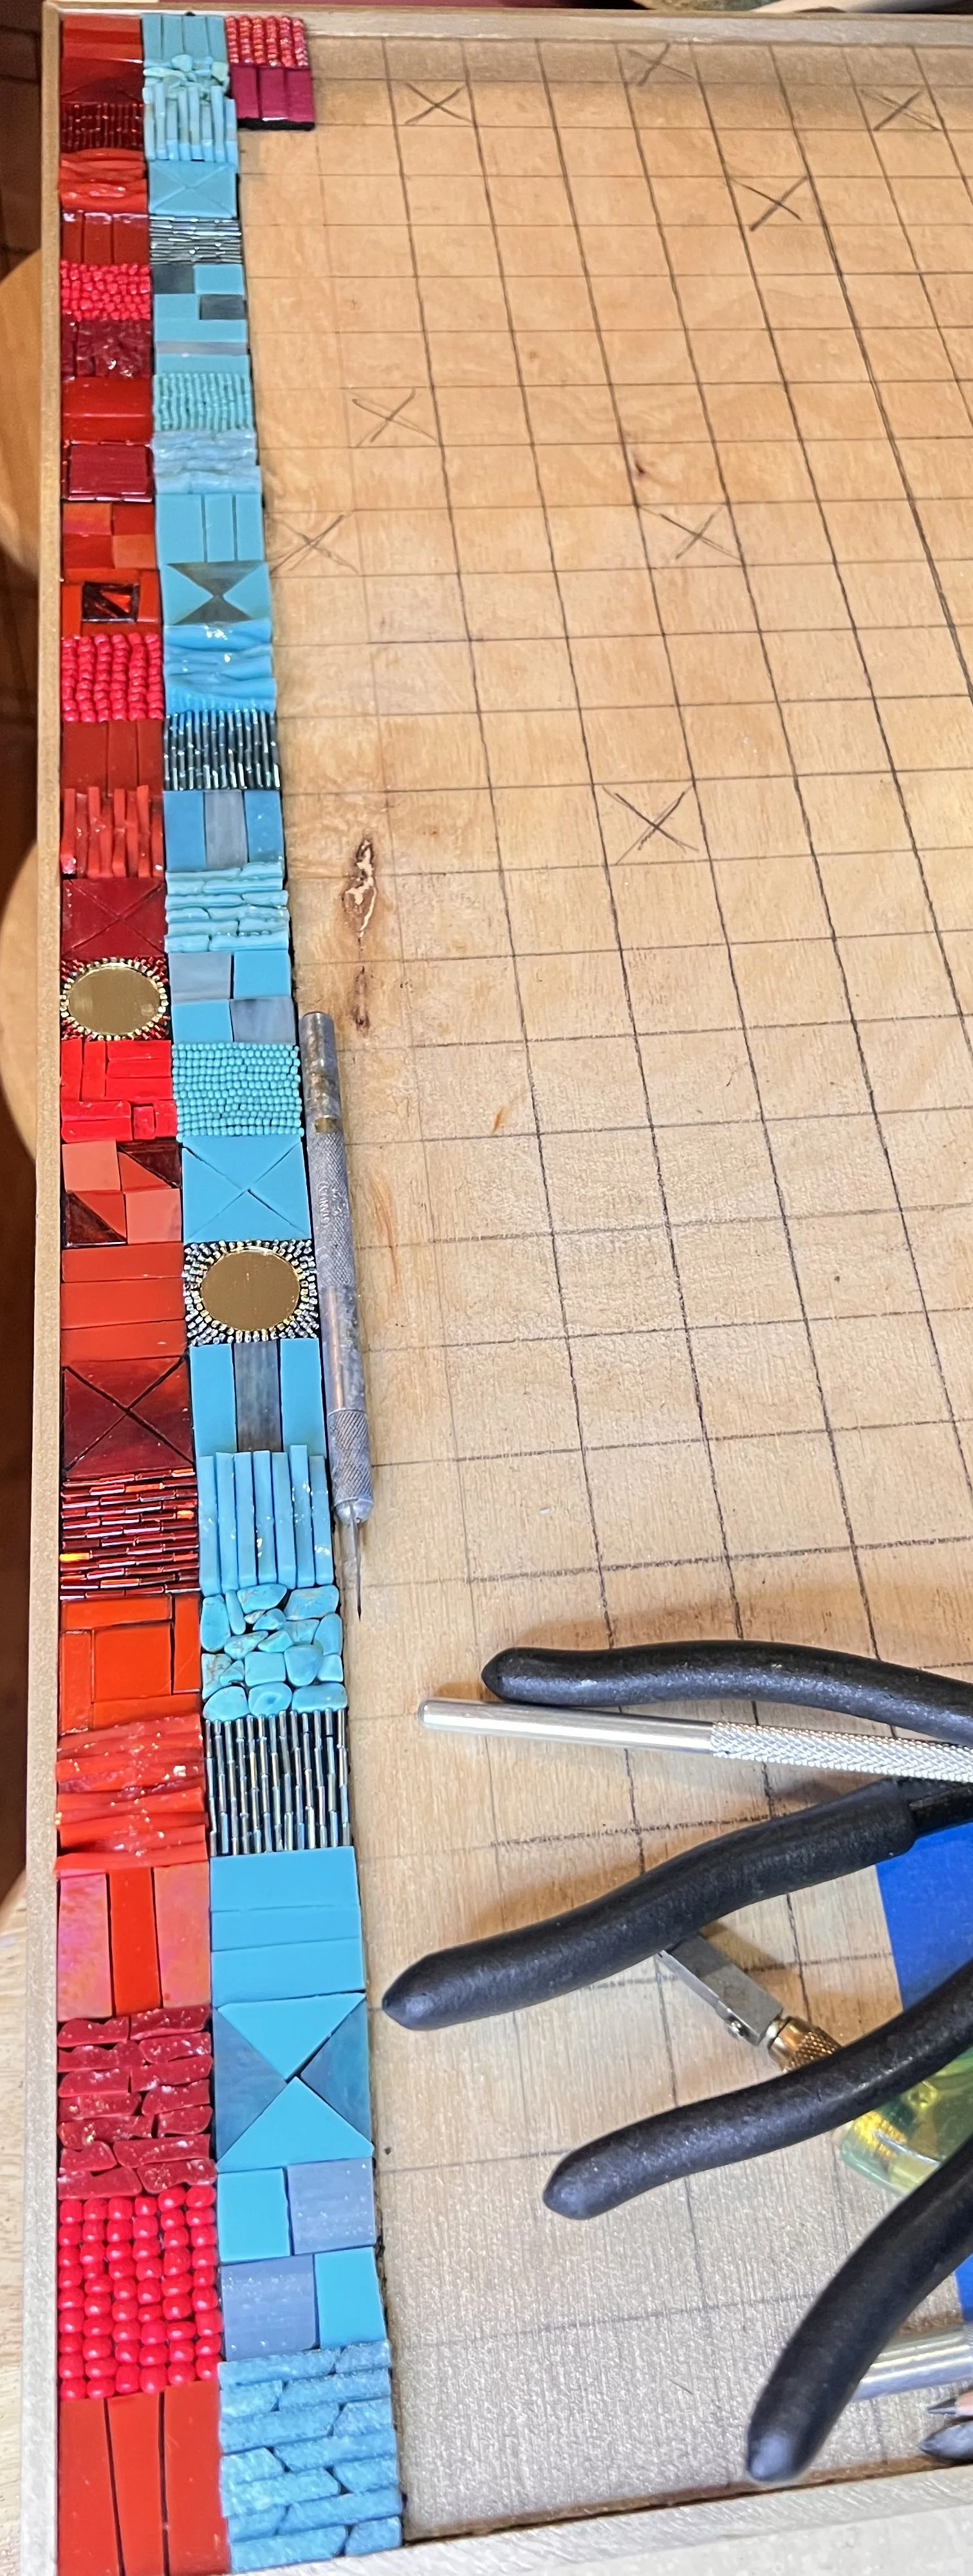
It’s going to take me a while to set this patterning, so I want to talk about why I chose to use beads. I want the crisp outlines you see in ceramic tile. It’s hard to do this with stained glass because glass doesn’t cleanly cut into 3/16” strips. Beads may be time consuming, but I can lay them down exactly how I want them, and the color will be consistent. Stained glass also tends to have dark shadows, so when you cut it super thin, the color can be inconsistent.
The white beads look overwhelming when I first lay them down, but they mellow out quite a bit once they’re surrounded by the rest of the glass. In addition, I’m using cobalt blue grout, so they will tone down a lot once they are surrounded by & slightly buried in the grout.
Next I’m going to use vellum to make some templates for the stained glass in this middle section. I’m just going to make this one square first to set the pattern idea, but if I make the templates now, it will be one less step in a couple months when I finish all the beading and I’m ready for the glass.
I estimate by the time I finish the beading, I’ll have invested at least 300 hours into the project, and that the whole project will take about 500 hours. I haven’t really been keeping track, which I regret, but it’s hard to do the work, let alone keep track of all the videos, images, and time yourself on top of it.
Here’s the mosaic so far. There’s still a lot of work to do, but it’s starting to come together.
Let’s get a little work done on one of the two featured circles. I want to know how the orange I’m planning is going to look with the orange I’ll be using in the center.
I’ll also finish up the blue pentagons on this side while I’m over here. All these robin egg blue pentagons need to be placed before I place the white star beads. I’m going to do this row, finish all the rest of the beading, then come back and finish up the left and right side.
I don’t know why these blue pieces feel so tedious to me, but they do. I’ll be much more motivated when I know I’m closer to the finish line.
And then I’ll finish the green teardrops and surrounding beads on the other circle before moving on to the never-ending task of placing the outlining the beads in the middle sections.
Onto the white beading for the upper archway. This is my favorite part of the mosaic. I love how the flowers come together to form a second pattern in between. This is my favorite thing about this type of ceramic tile in the first place; the way the designs from each tile come together to form a pattern when they are put together as a whole.
Right now the plan is to fill in the flowers with the yellow circles with orange and the designs with the orange circles with green. This may change. It will be the last thing I do because it will allow me to change my mind if a different color will help pull the whole piece together.
For the outer border I’m going to place three concentric rows of beads in kind of an ombre color scheme. This is a chance to add something different and a little more delicate to these outer rows.
I’m going to surround the beads with yellow triangles to make it kind of a sun pattern. Right now the plan is to fill in the background with cobalt blue to ground the project, but I’m going to hold off until later to see if I change my mind.
I’m just going to skim through placing some of the beads in the middle archway section. So many beads!! It felt never ending. I’m I’m just going to skim through with a few clips of placing the beads in the middle archway section. So many beads!! I’m really happy with the way it looks and I think it is worth the time investment, but there was a point at which I thought I would be 86 and still placing these beads.
Now the majority of the beads are in place. Just about another 30 hours of beads left and I can move onto the stained glass.
There’s a lot of work left but unfortunately I have to put this mosaic aside for a while to work on commissions and other projects. I will be coming back to it and sharing it with you when I do. Thank you for watching!

