VIDEO: Pathway Key to Success Mosaic: WIP #2

The second of two videos showing the making the Pathway Key to Success mosaic. This was a mosaic artwork I helped kids in a foster care program make as a thank you gift to one of their donors.

Video transcript for deaf or hard of hearing:

Hi Mosaic Aficionados! Today I’m going to show you the completion of the Key to Success mosaic I helped the kids make. We last left off after I had finished the bronze Van Gogh rings.

I added a few beaded sections for examples and glass along the edge before meeting with the group. Kids tend to stick glass hanging off the edge and I don’t feel like getting cut during grouting or transporting.

I also numbered all the rings so the kids could match up what size of key they’ll need.

The kids were kind enough to deal with a tripod in their way for about an hour so you can see them work a little. These kids were amazing! They had incredible focus and attention to detail. They were about 10-12 years old and most kids can’t handle doing something this tedious for even an hour. We expanded the sessions to 2 hours because they always wanted to keep going. And they kept busy and creating through all 6 sessions we worked with them!

It was awesome to hear about their lives and watch them enjoy mosaicking. And no one stabbed anyone with the sharp pottery needles they were using to apply the beads, so I consider that a win.

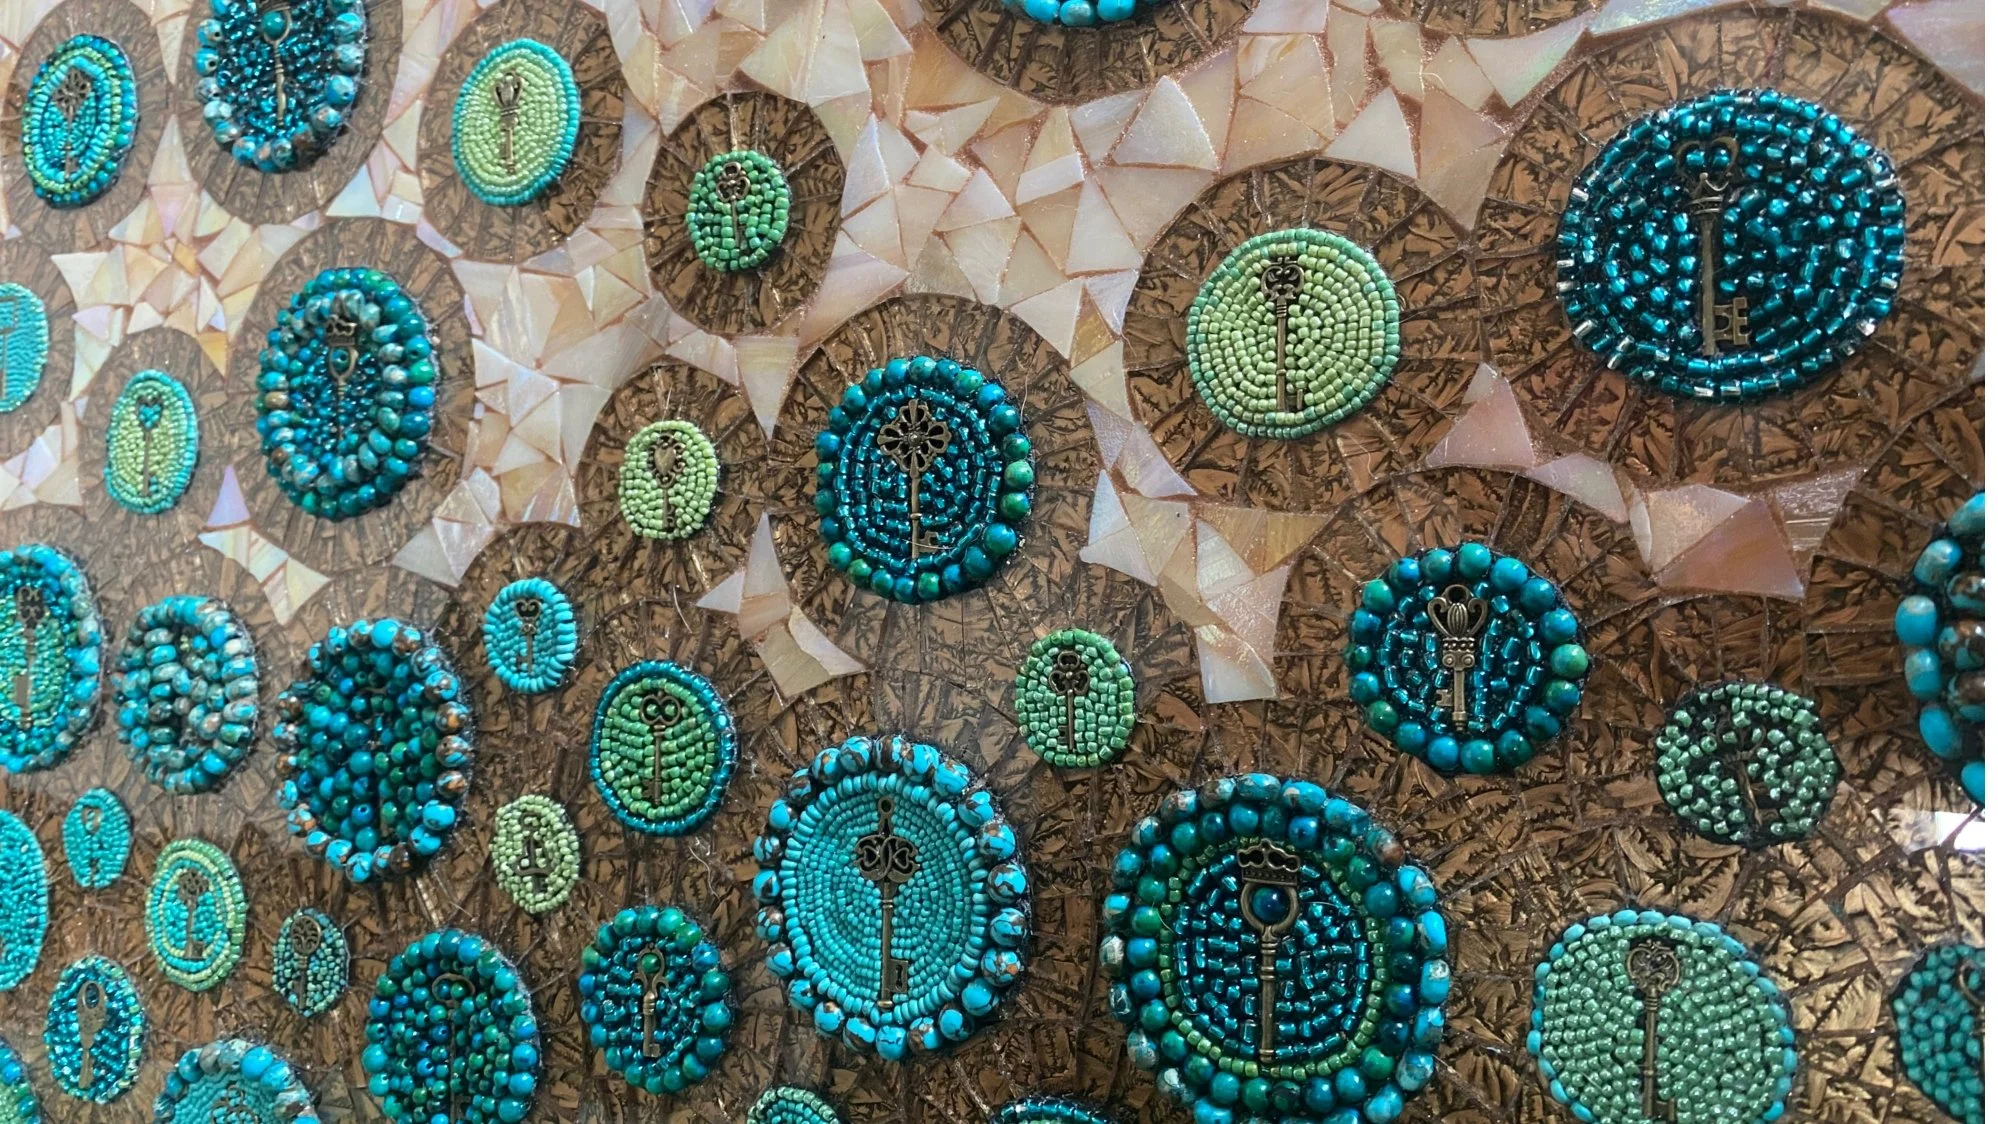
So next I’m going to show you a close up time-lapse of placing the beads and key in the Apoxie Sculpt. It’s easiest to place the key loosely, then start on the outside and work in. We left the larger beads for the outside of the larger rings, then used seed beads in the centers, or in most cases the entire small circles.

I’m using a pottery needle so I can place each bead on its side so the hole isn’t visible, then press them lightly into the Apoxie Sculpt.

Now we’re ready for grouting. I used masking because I started with a linen color grout on the edges. After that dried, I applied Mapei Flexcolor 3D grout over the regular grout on the edges and on the surface of the mosaic except the circles. They don’t need grouting because of the Apoxie Sculpt. The Flexcolor 3D grout is great for projects like this because it has a cool metallic, sort of iridescent sheen.

So, I ended up just putting the 3D grout on by working my way around the circles. Because it has a translucency and is lighter in color I’m not too concerned about a little getting on the circles. My intention was to mask the beads off with mosaic tape, but the beads were too uneven a surface for it to stick to, so it was just cleaner and easier to work around the circles.

After I get the grout worked into all the crevices, I quickly go over it with a damp sponge followed by a sponge squeezed well, then keep changing sponges if necessary, finishing with a washcloth because the texture helps clean residue off the surface.

Then it’s time for a final cleanup.

There was a residue around all the circles. It’s hard to see, but there’s a little of this haze in the lower right of this circle. I believe it’s from my assistant and me placing the Apoxie Sculpt in the circles, and then the grout sticking to the apoxie residue. We tried to be as careful as possible, even cutting out each circle to size with templates and exacto knives, but your hands very quickly just get sticky after handling it.

I used an exacto blade to get the residue off the glass and a toothbrush to polish up.

When the mosaic was done even Mango approved.

Since this is a gift for the foster care organization’s largest donor, we not only took a lot of care with the project, but also had the kids sign a little thank you plaque to be hung next to the mosaic.

Thank you for following along this journey. I’m happy to report the kids loved mosaicking and the donors loved the mosaic, especially the symbolism of the keys.

VIDEO: Pathway Key to Success Mosaic: WIP #1

The first of two videos showing the making the Pathway Key to Success mosaic. This was a mosaic artwork I helped kids in a foster care program make as a thank you gift to one of their donors.

Video transcript for deaf or hard of hearing:

Hi Mosaic Fans! This mosaic begins when I had only a day to design a project for kids from a foster care organization to create as a gift for their largest donor.

Fortunately, I woke up at 4am and found myself looking on Etsy before I was even conscious and came across these antique bronze key replicas that range in size from ½” to 2- 1/2”.

 I immediately had an idea of how to use the keys in a mosaic, so I jumped out of bed and went straight to the computer to make a mockup. The theme is to thank their donor for giving them the “Key to Success”.

 Mango, on the other hand stayed in bed until sunrise.

 I’m going to use bronze colored Van Gogh glass to create mosaic rings. Inside the rings, the kids will choose & place a key, then fill up the circle with tiny beads. They will also mosaic the background with my favorite iridescent amber/white glass from Wissmach.

I am using a 2’x3’, ¾” birch panel for the substrate.

I started by printing templates for the inner and outer circles, the inner circles on white cardstock and the outer on yellow cardstock so I can trace them onto the wood.

Then I traced the circles onto vellum so that I have a template I can see through to help make adjustments.

I wanted to keep the circles whole, except for those that come slightly off the edge, though even with those I had to make sure the keys would fit wholly onto the panel because I don’t want to have to cut the keys.

To make sure the circles all remain circles, I carefully interlinked the borders. This will mean making a lot of adjustments as I work, but will pay off in making the circles look very clean and crisp.

With the initial sketch completed, I primed the board. You can do this before or after sketching. I chose after because it’s harder to erase once the board has been primed.

The reason for priming is to help adhesion and to cut down on moisture later getting in and warping the wood. I’m priming using watered down Weldbond, which is the adhesive that will be used for the glass. We’ll be using Apoxie Sculpt for the beads, but I’ll get to that in the next video.

So that I can do this all at once, I use cups to place the mosaic on when I flip it over to prime the other side.

I wait only a few minutes until most of the primer has been absorbed, then flip it over and prime the back. I also make sure to prime the edges.

Now it’s time to cut the Van Gogh glass.

 I’m cutting it into ½” strips using the Morton grid. From there I’ll just cut wedge-shaped tessera as needed.

I started with the simple, straight forward rings on top to get a feel for the angles needed for each of the four sizes of rings.

Then I moved to the bottom to get the hard work of the interlocking rings over with. The glass size may not exactly match my templates, so I may need to adjust some of the free floating rings in the center. Doing the bottom first will allow me to size up how things will look best aesthetically.

As I move into the middle section, I’m just adjusting from the original sketch into what will look best once all the rings and beads are in place.

While the tedious nature of mosaics is often enough to drive someone crazy, it is good in instances when I’m preparing to work with kids because it gives me the opportunity to think through the best way to have them work without too much chaos.

In part two we’ll finish up the mosaic and I’ll show the kids working on it. Spoiler alert: They did awesome! Thank you!

The Quiltmaker’s Gift

ClassQuilt-Detail1.jpeg
ClassQuilt-Detail3.jpeg

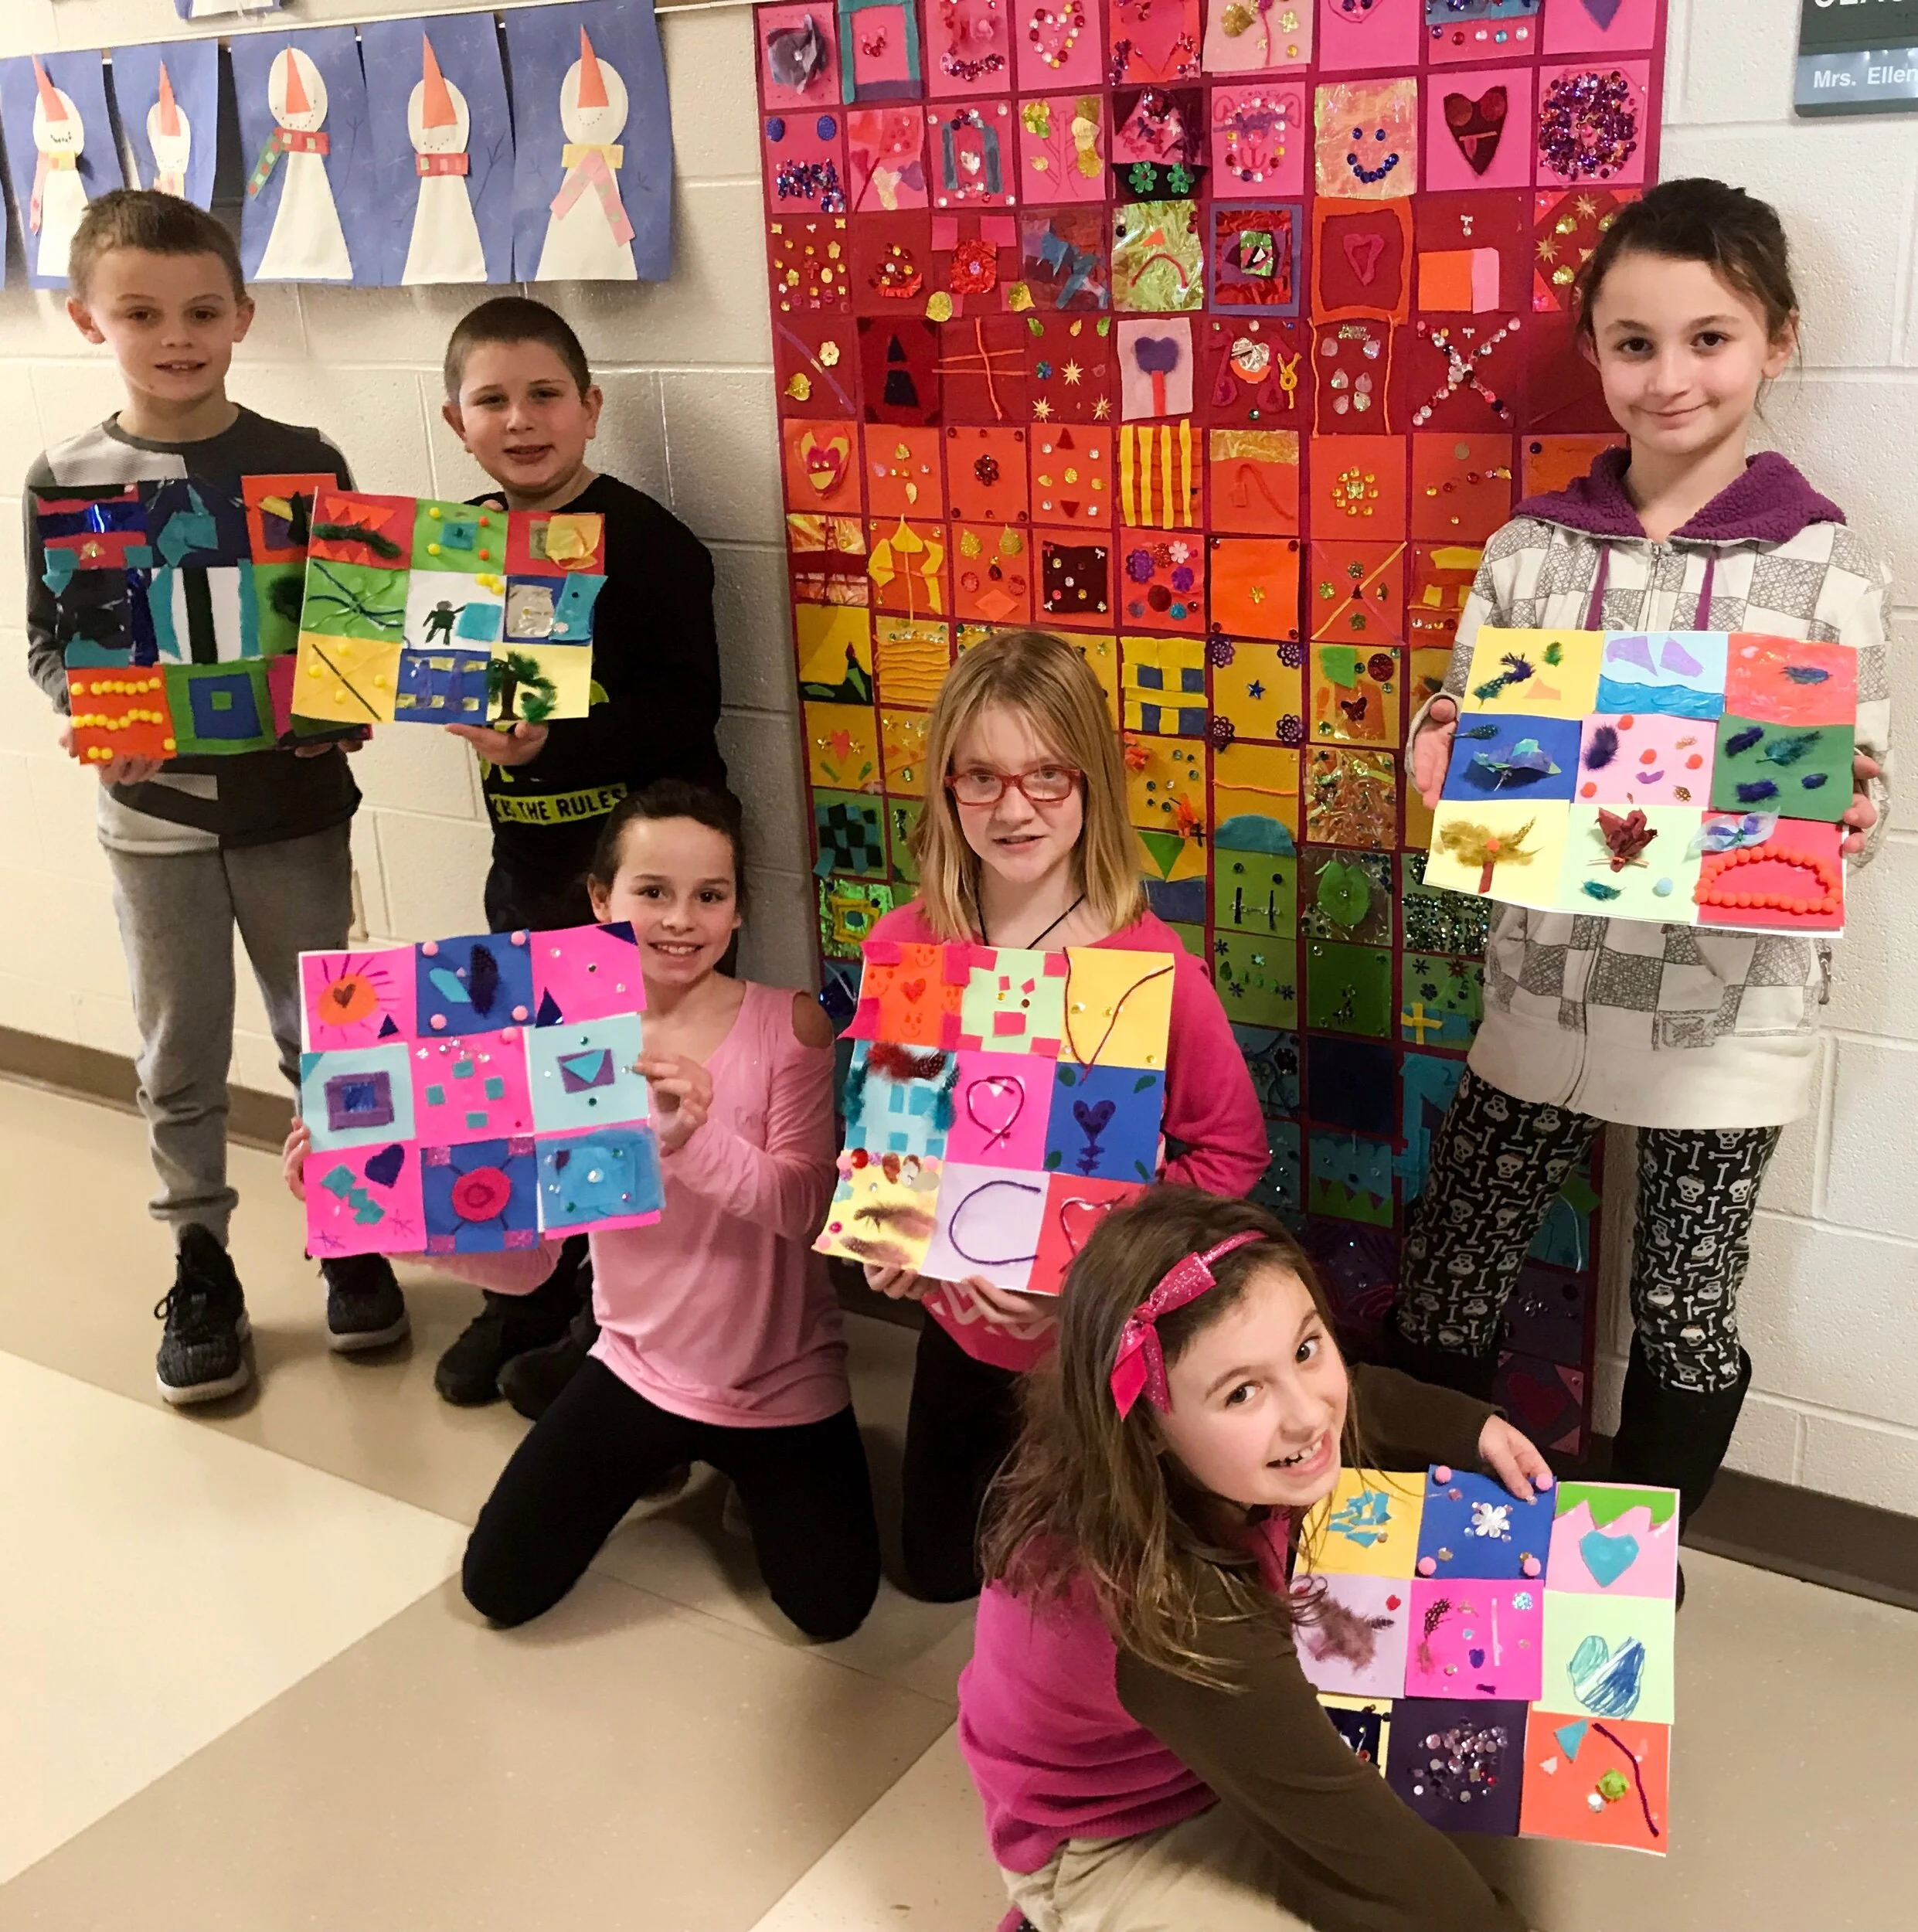
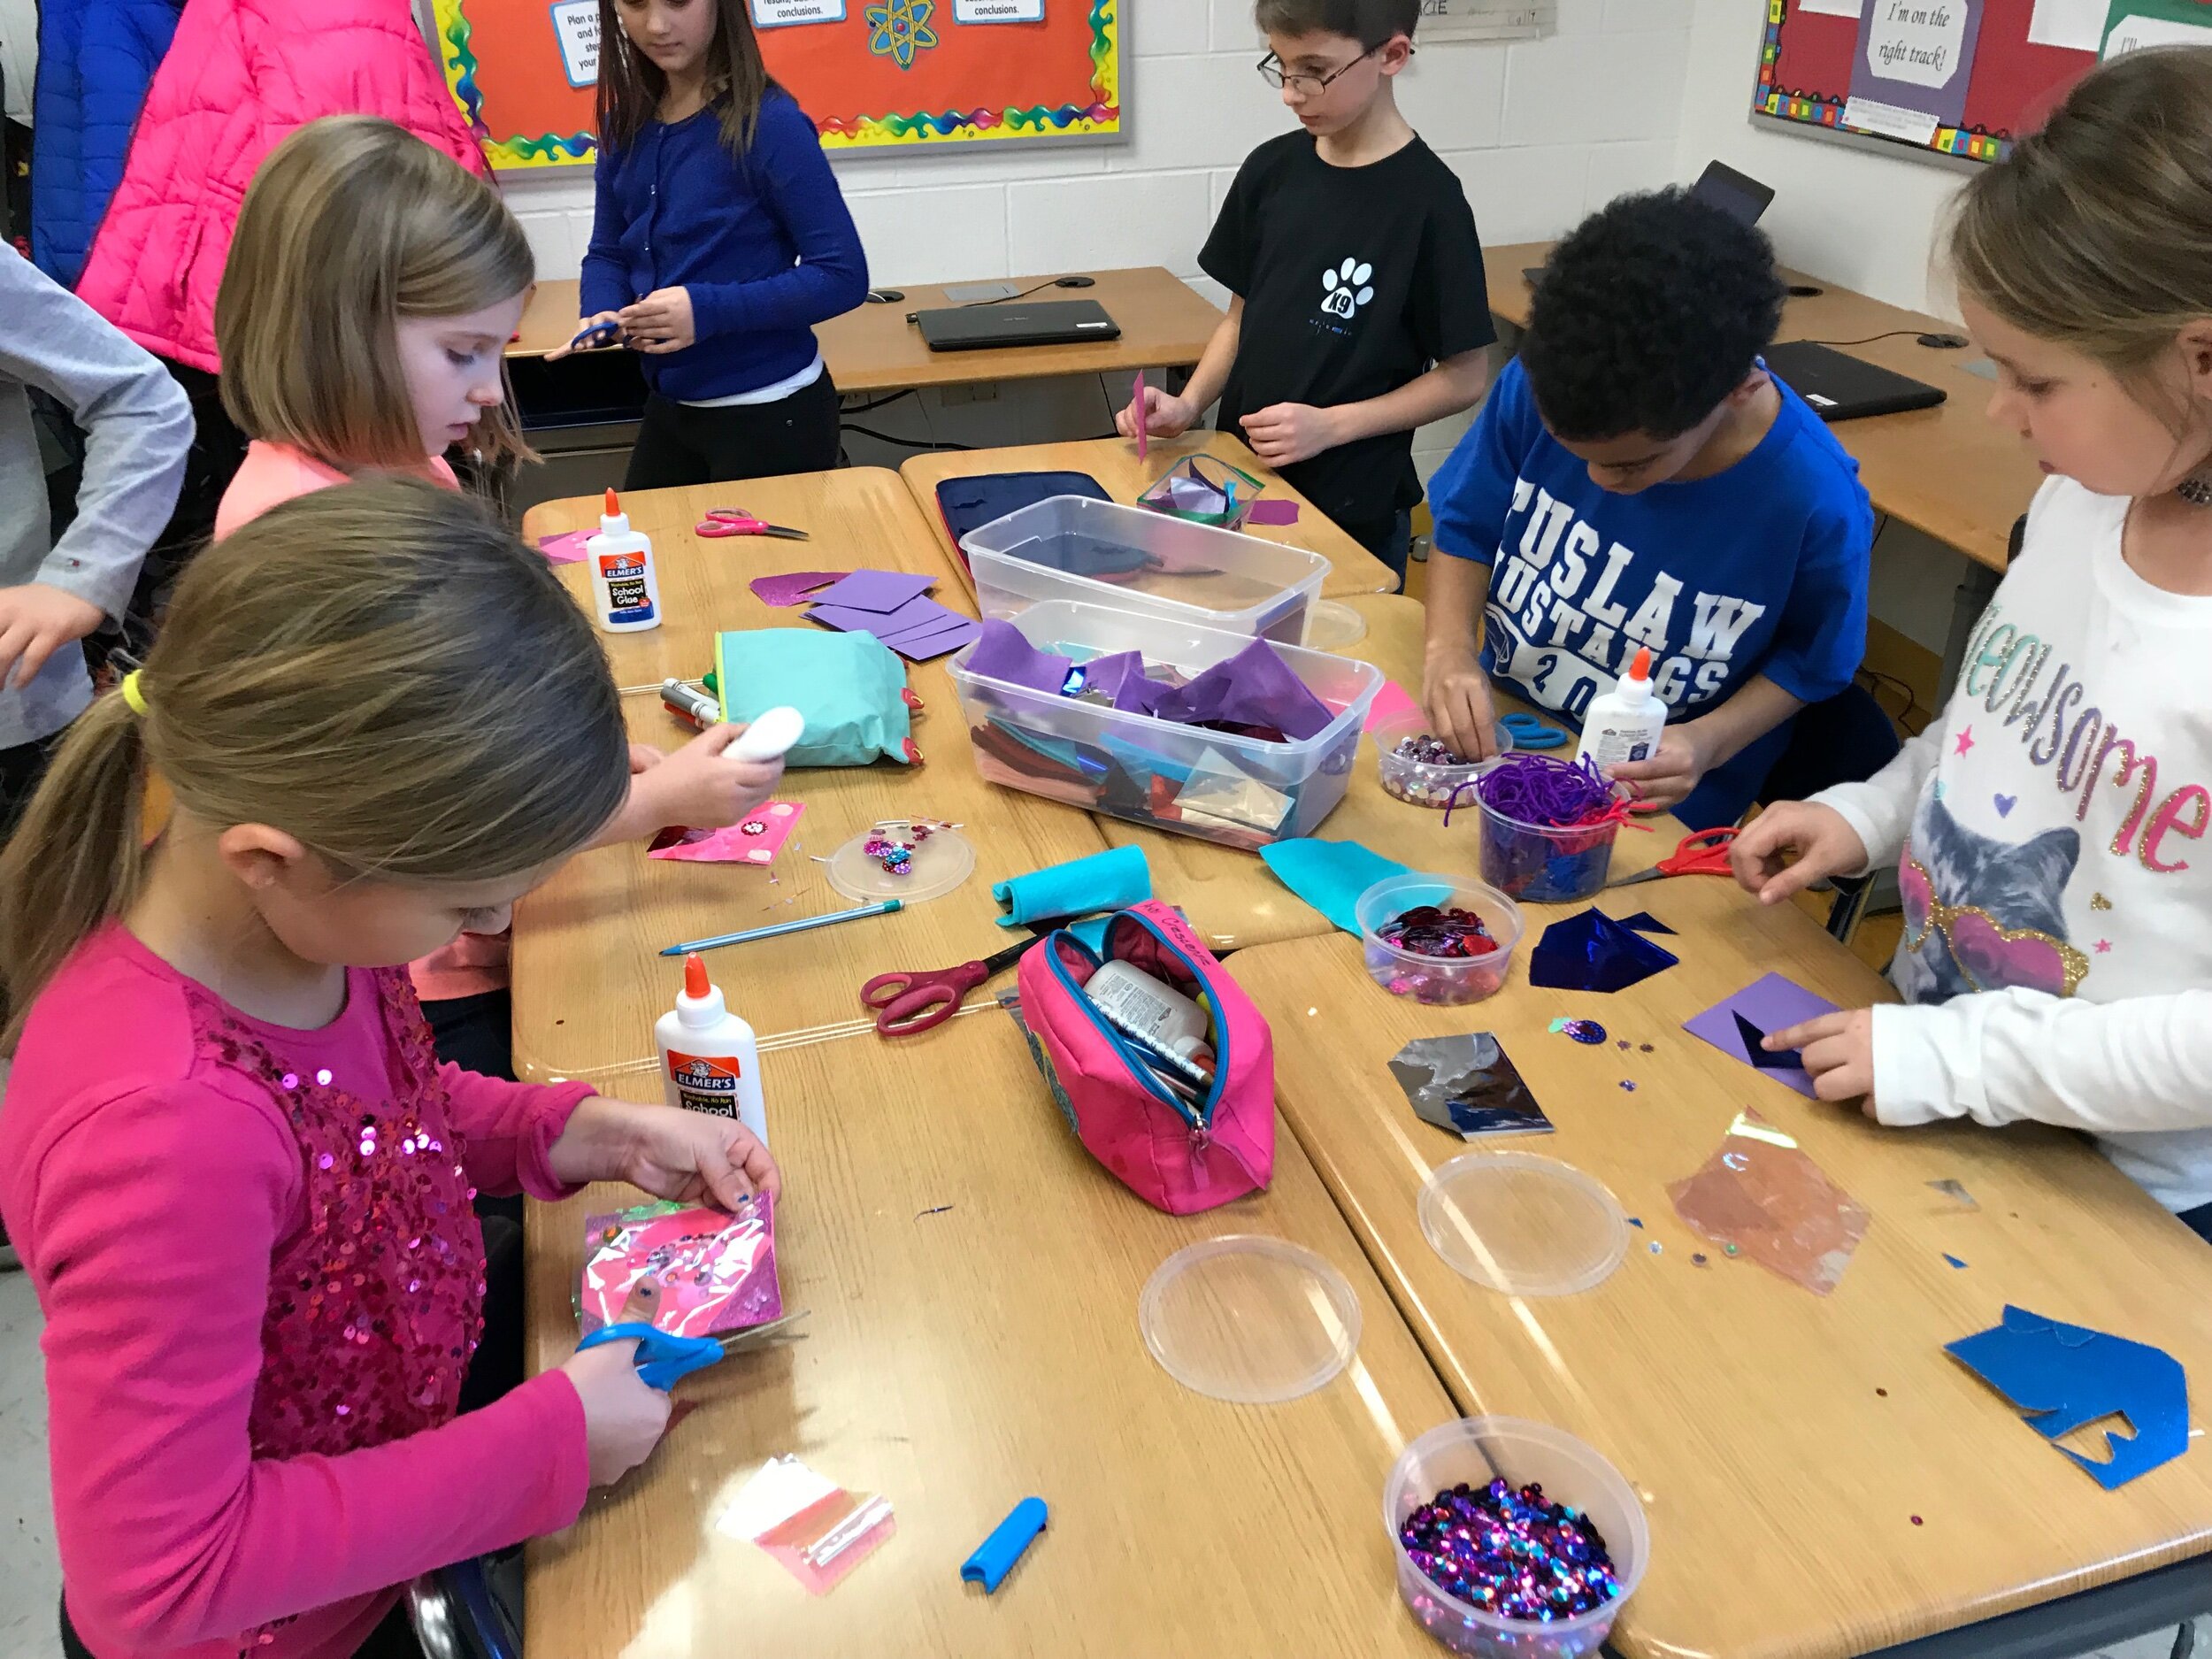
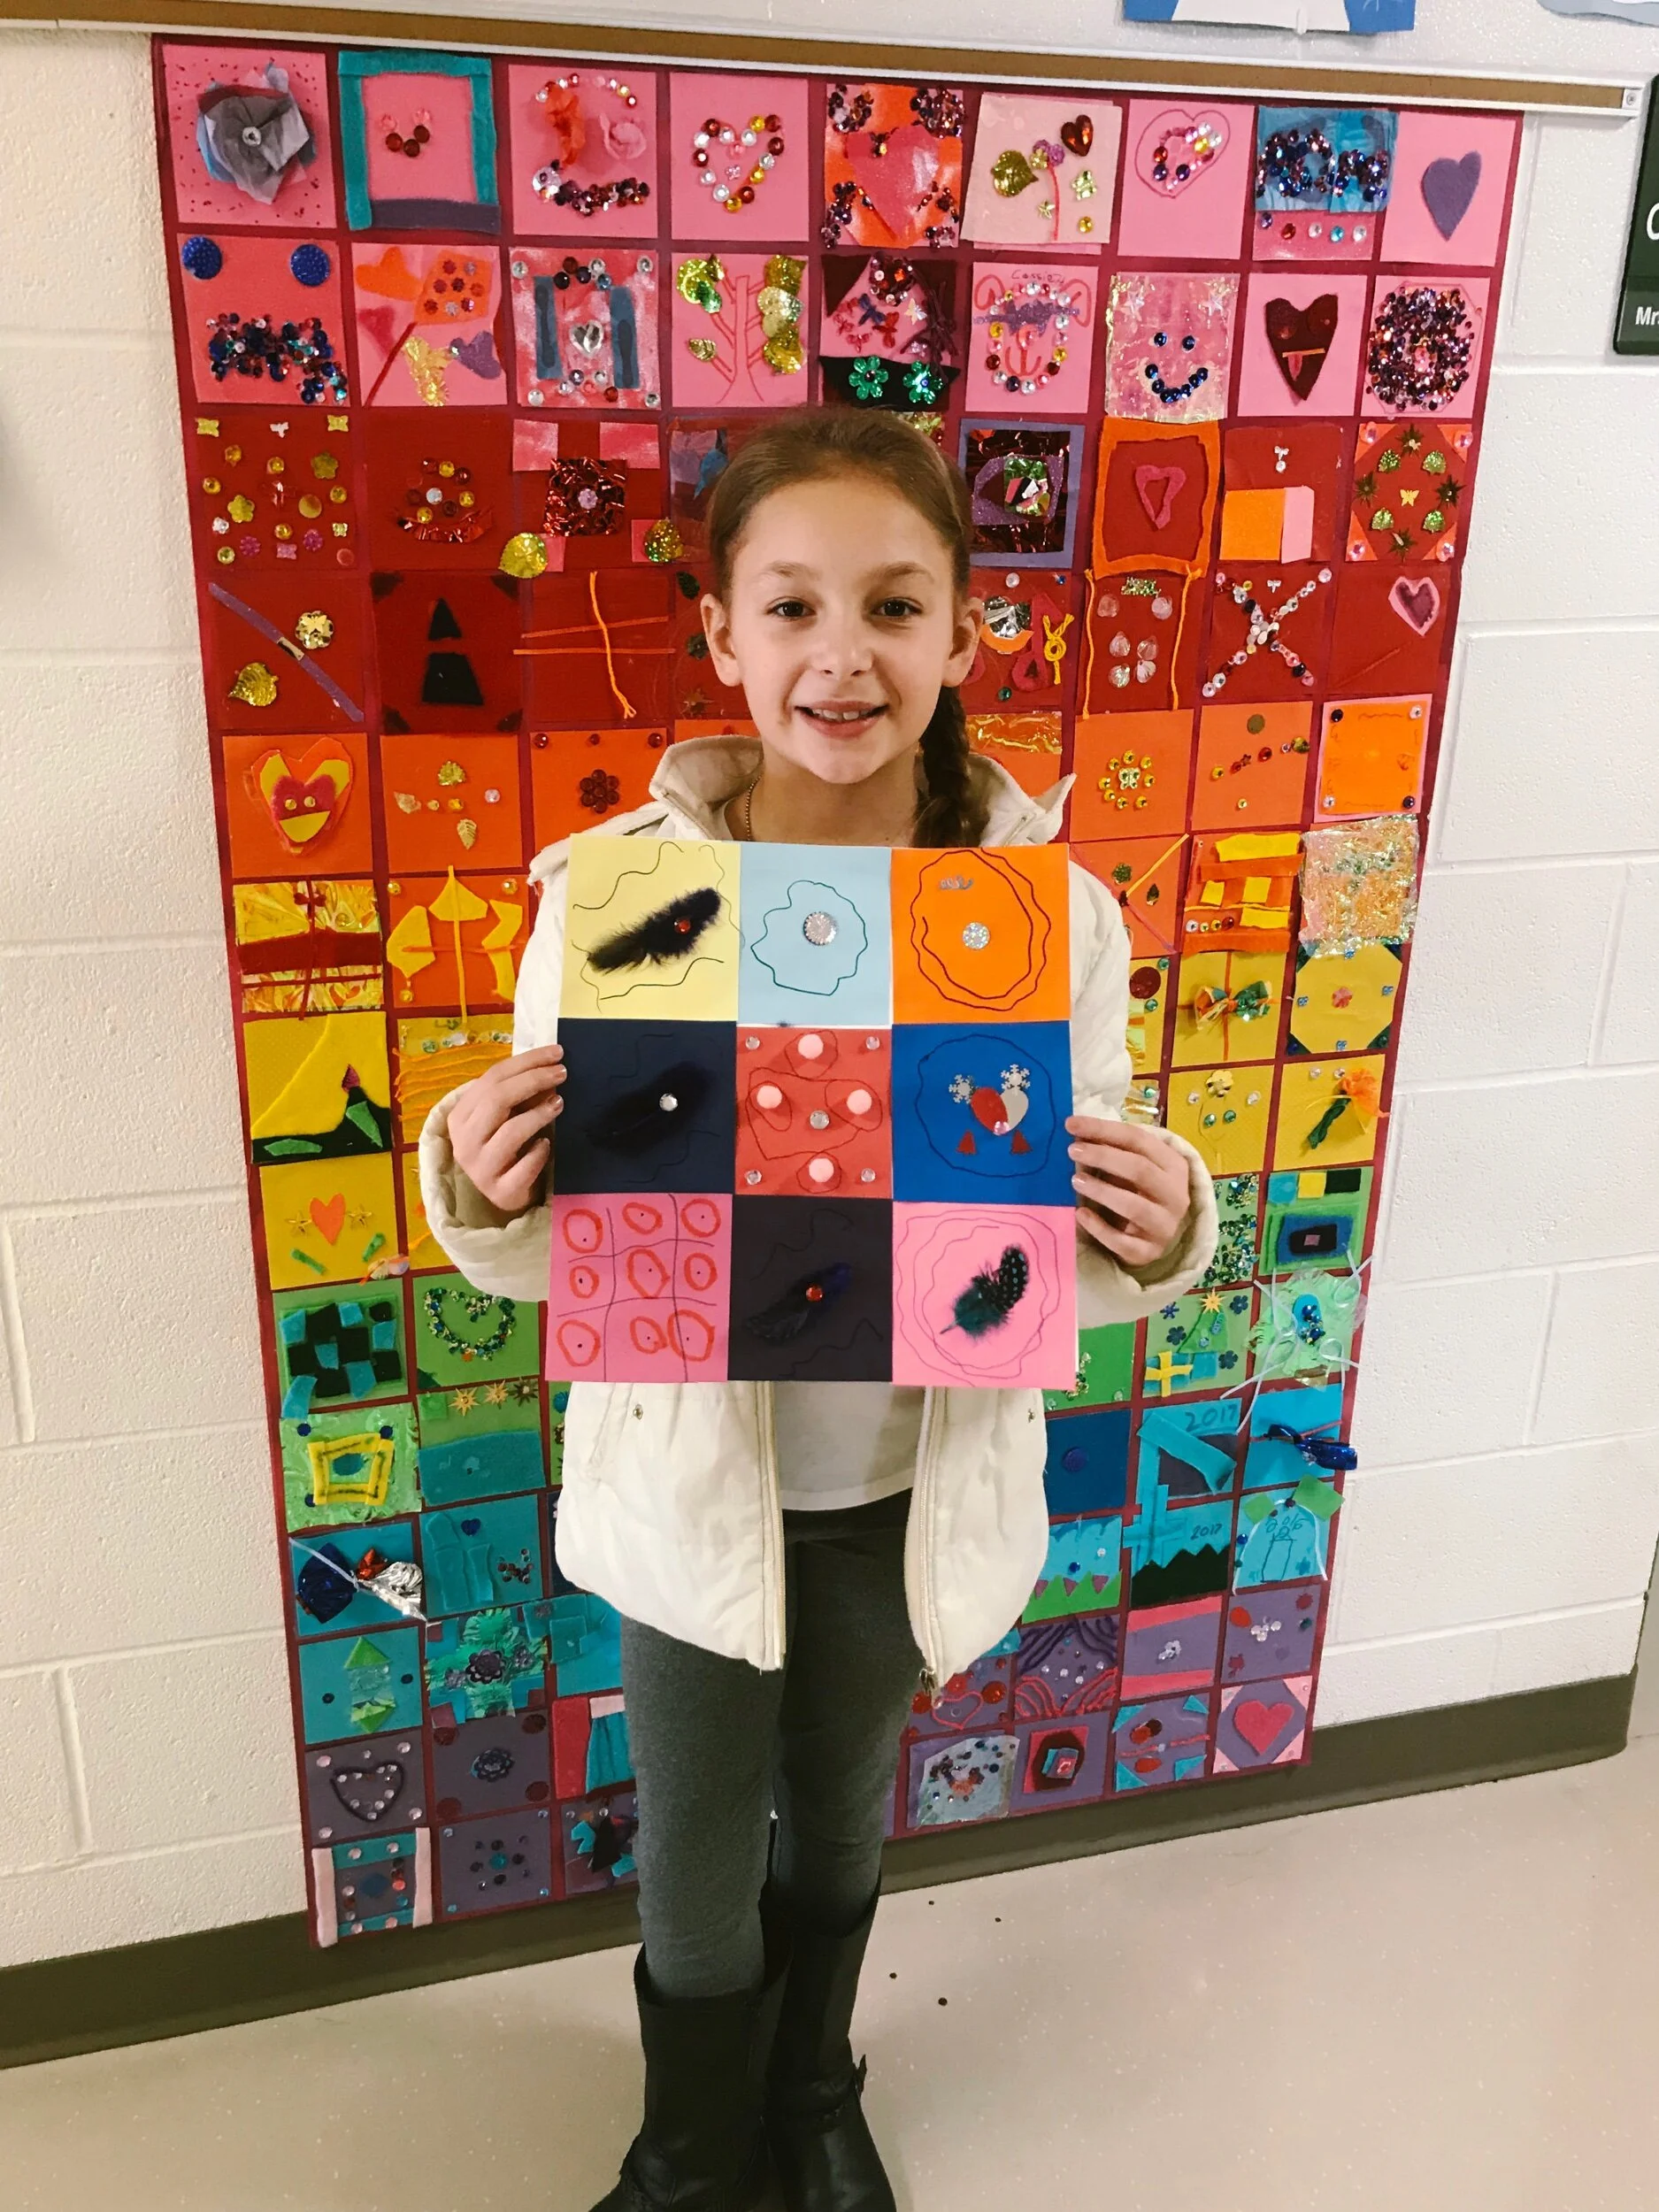
These 4th graders read and interpreted the wonderful book “The Quiltmaker’s Gift” by Jeff Brumbeau, which teaches the importance of kindness and prioritizing thinking of others over possessions. They used their character analysis to create warm and cool tiles for a classroom quilt wall hanging to decorate their school and their own individual squares to take home and give to someone special. This education & arts integration project was sponsored by ArtsinStark.

IndividualQuilt-Full.jpeg

May First Friday

Nifty fifties is the theme for May's First Friday in the Canton Arts District! I decided to celebrate by making glitter poodles for kids to get all fancy and 50s. Stop by and get a little 50s glam!!

image.jpg

It's impossible (at least with my photography skills) to take a decent picture of the storefront, but I still try... 


image.jpg

And here are a couple new mosaics I've made this month... 


Visphot-Mosaic-Full-©.jpg
 
Poppies-Bubble-Mosaic-Full1.jpg

For the month of May there is also a 20% discount on the entire Cherry Blossoms series!